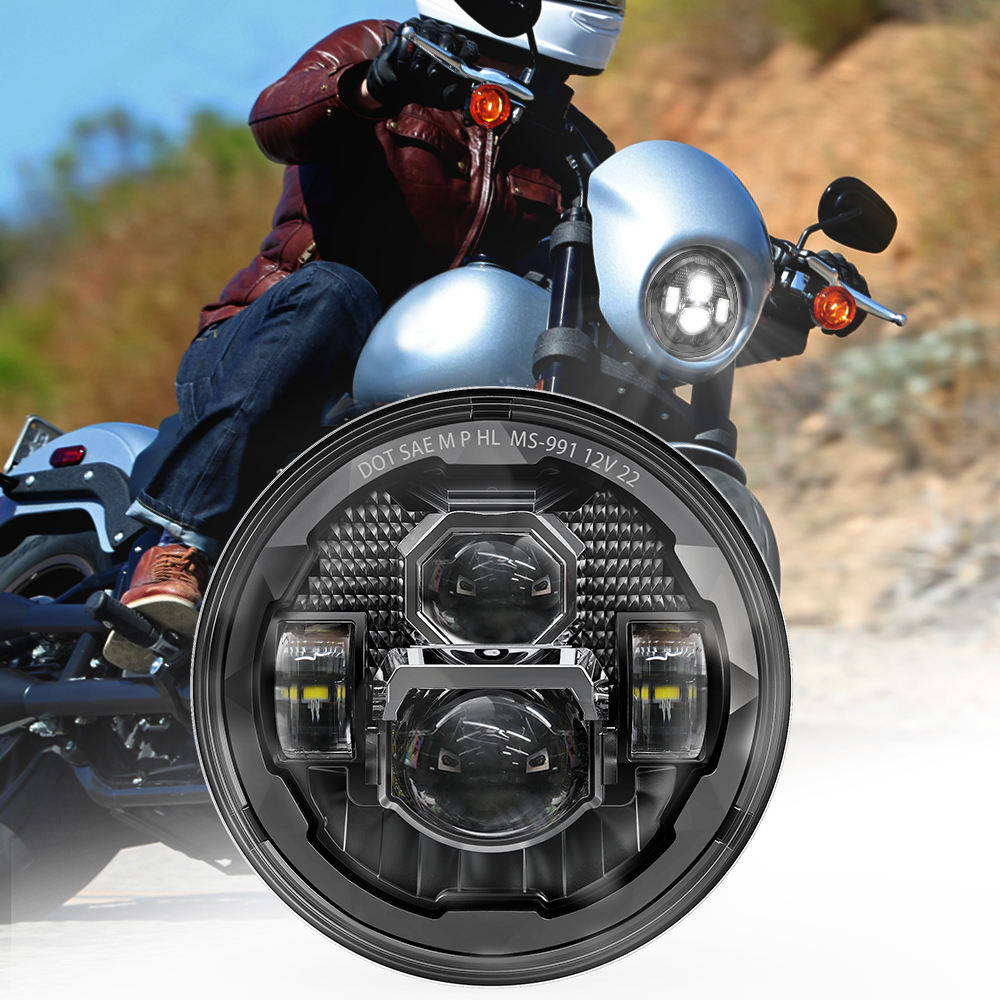
Upgrading the headlight assembly on your KTM Duke 690 to LED can enhance nighttime visibility, improve energy efficiency, and give your bike a modern look. This installation guide will walk you through each step to help you install an KTM Duke 690 LED headlight assembly with ease.
Turn off the Bike and Disconnect the Battery
For safety, turn off the engine, remove the key, and disconnect the battery. This helps prevent accidental electrical shocks and ensures a safe installation environment.
Place the Bike in a Stable Position
Position the bike on a flat surface or use a stand to keep it stable throughout the installation process.
Locate the Headlight Assembly Mounting Screws
On most KTM Duke 690 models, the headlight assembly is secured by screws along the front cowl. Use a screwdriver to carefully remove these screws.
Detach the Headlight from the Bracket
After loosening the screws, gently pull the headlight assembly away from the frame. Be cautious with the wiring as you remove it.
Disconnect the Wiring Harness
Locate the headlight wiring harness attached to the stock headlight assembly. Disconnect it carefully by pressing the release tab and pulling the connectors apart.
Attach the LED Headlight Assembly to the Wiring Harness
Plug the new LED headlight assembly into the existing wiring harness. Ensure the connections are secure and align correctly with the power supply.
Secure the LED Headlight Assembly
Once the LED headlight is connected to the wiring harness, position it in the mounting bracket and secure it in place using the mounting screws.
Adjust the Headlight Angle
Before tightening the screws fully, adjust the headlight angle to ensure proper alignment for optimal road visibility. Aim the light slightly downward to avoid blinding oncoming traffic.
Reconnect the Battery
Reconnect the battery to restore power to the bike. Turn on the ignition to test the new LED headlight assembly.
Check High and Low Beams
Switch between high and low beam settings to ensure both functions work properly. Verify that the brightness and beam pattern are satisfactory.
Inspect for Flickering or Connection Issues
Make sure the light remains steady without flickering. If any flickering occurs, check all wiring connections for security.
Position the Wires Properly
If you added any extra wiring or adapters, use zip ties or adhesive clips to secure the wires away from moving parts. This prevents damage from vibration or wear over time.
Wrap Exposed Wires with Electrical Tape
For added protection, wrap any exposed wires with electrical tape. This helps keep moisture out and prevents corrosion.
Test Ride
Take a short test ride to confirm that the LED headlight assembly is secure and functioning properly. Observe the lighting on the road to ensure it meets your expectations.
Adjust as Needed
After testing, make any necessary adjustments to the beam angle or tighten screws if needed.
Installing an LED headlight assembly on your KTM Duke 690 is a great way to enhance visibility and give your bike a stylish, modern look. By following these steps, you can ensure a smooth and effective installation. Enjoy the improved brightness and visibility on the road with your upgraded LED headlight!
 2007-2014 Polaris RZR Led Headlights for RZR 800 570 XP 900 Ranger Sportsman Manufacturer
 Best Accessories to Enhance Your Harley Street Glide Riding Experience
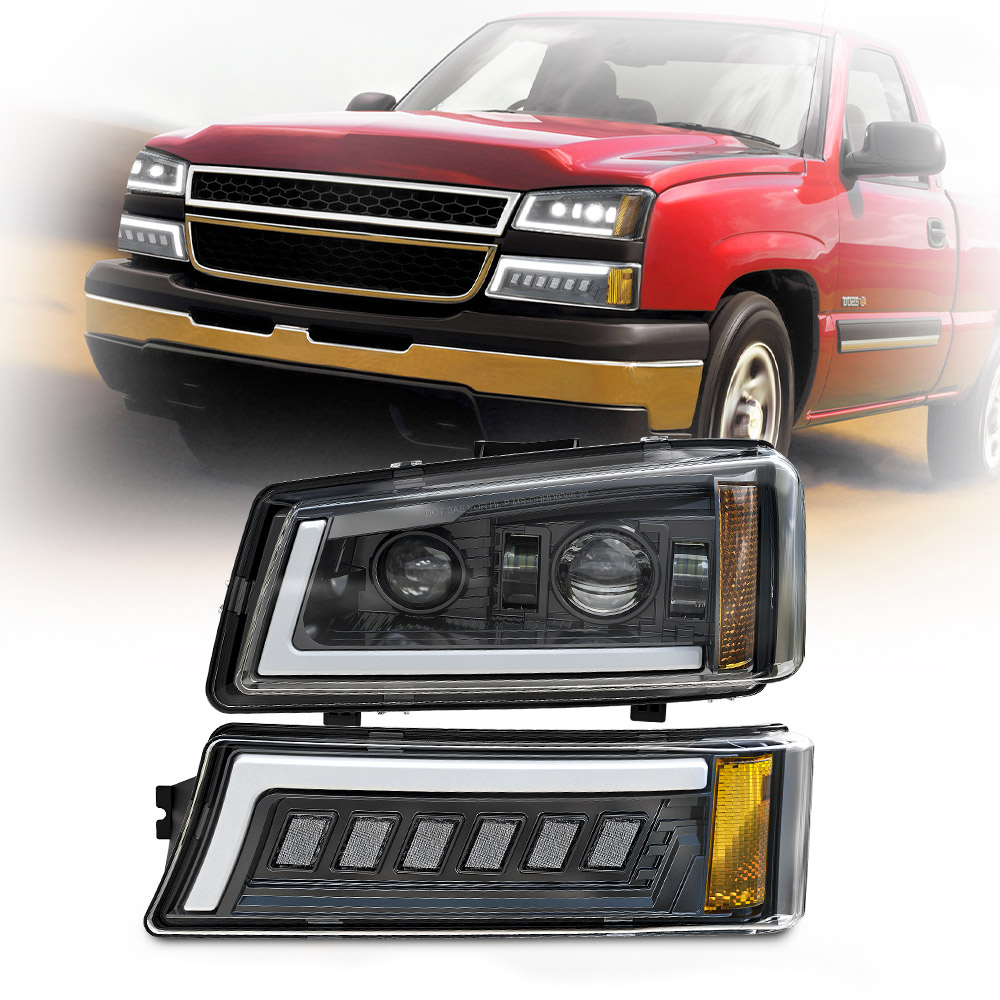
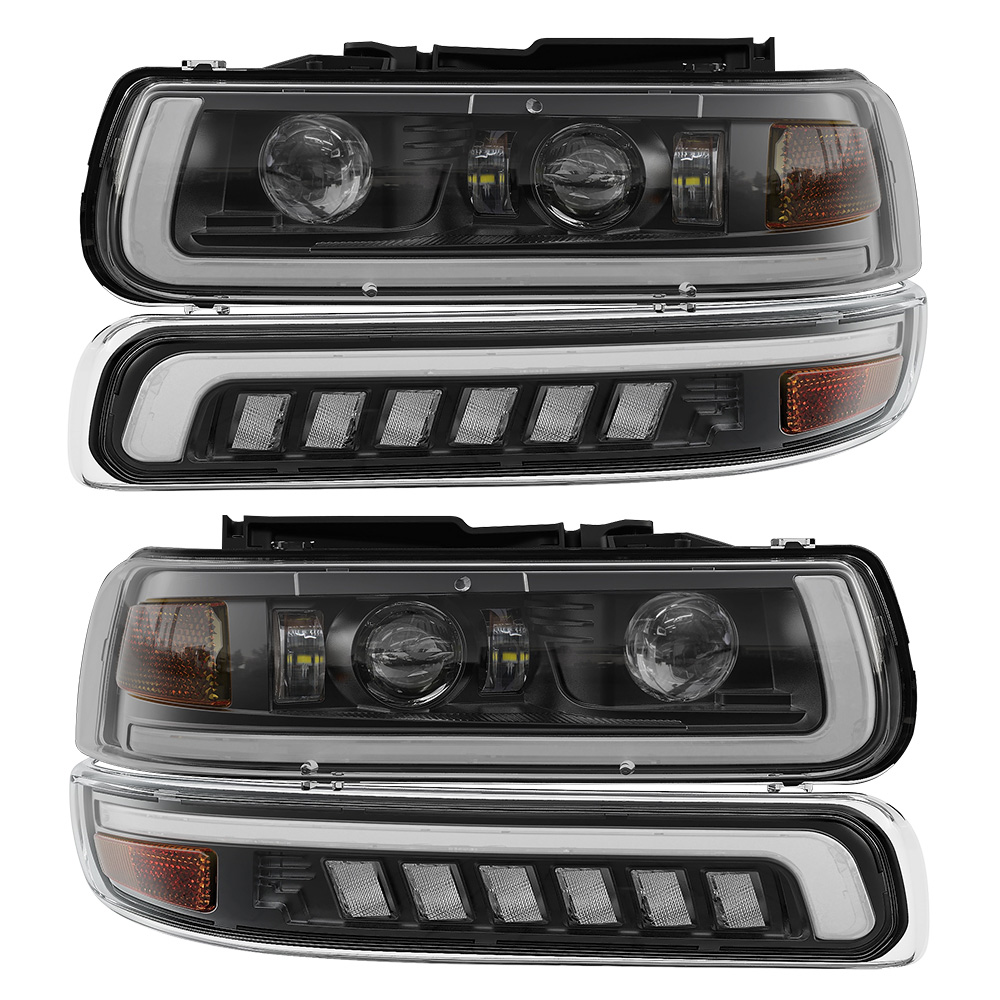 Best Aftermarket Headlights for 2006 Silverado
 How to Adjust Headlights on a 2006 Chevy Silverado


