Charging your Harley Davidson motorcycle battery is an essential maintenance task that ensures your bike starts reliably and performs optimally. Whether you're preparing for a long ride or storing your bike during the off-season, proper battery care is key to extending its lifespan and preventing issues. Here's a step-by-step guide to help you charge your Harley Davidson motorcycle battery effectively:
- Gather Your Tools: Before you begin, gather the necessary tools and equipment. You'll need a compatible battery charger designed for motorcycle batteries, safety gloves, safety glasses, and a clean cloth.
- Prepare Your Workspace: Choose a well-ventilated and dry area to work on your bike. Ensure that there are no open flames or sparks nearby, as battery charging involves electrical components that can be sensitive to ignition sources.
- Turn Off the Bike: Before connecting the battery charger, make sure your Harley Davidson motorcycle is turned off. This prevents any electrical interference or safety hazards during the charging process.
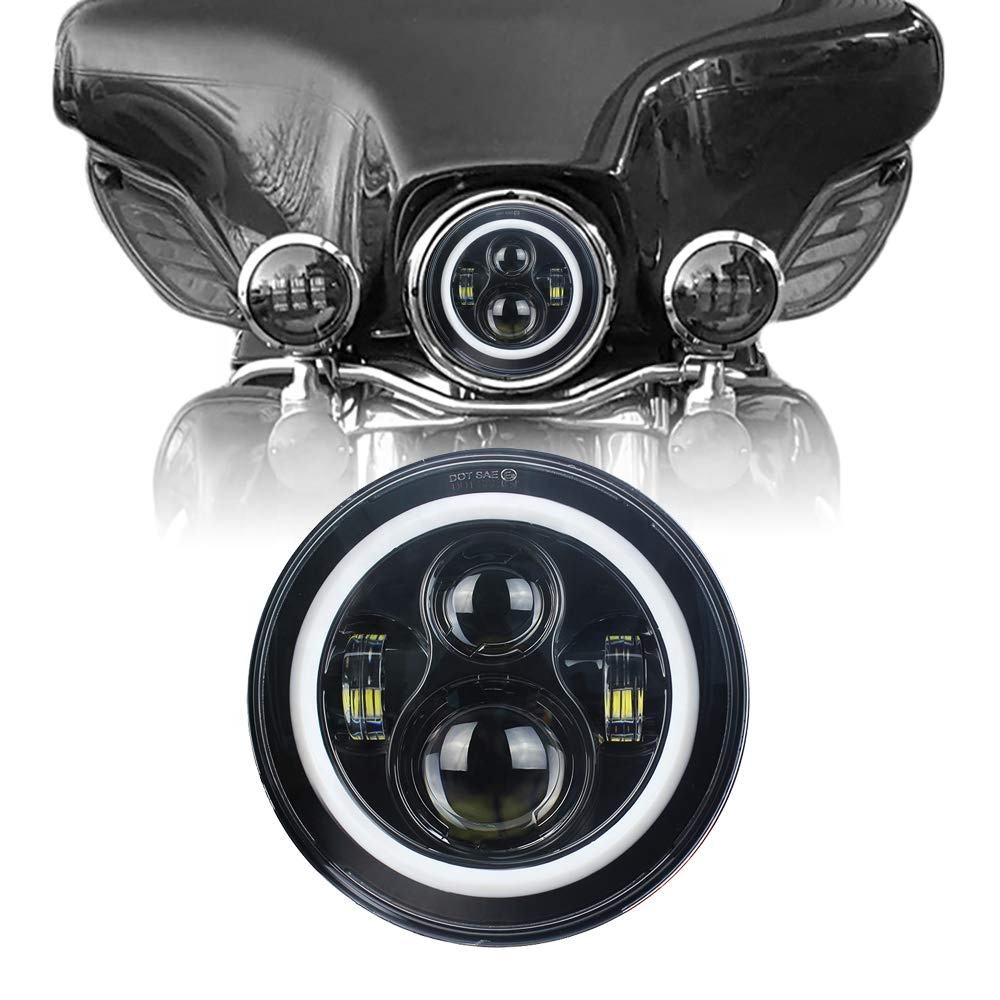
- Access the Battery: Locate the battery on your Harley Davidson motorcycle. Depending on the model, the battery may be located under the seat, behind side covers, or in the battery compartment. Use your motorcycle's owner's manual for guidance if needed.
- Disconnect the Battery: If your battery has a removable connection, disconnect the negative (black) terminal first using a suitable wrench or socket. Then, disconnect the positive (red) terminal. This step is crucial for safety and prevents accidental short circuits.
- Connect the Charger: Follow the instructions provided with your battery charger to connect it to the battery. Typically, you'll connect the positive (red) charger lead to the positive terminal on the battery and the negative (black) lead to the negative terminal. Ensure the connections are secure and tight.
- Set the Charging Mode: Most modern battery chargers come with multiple charging modes, such as trickle charge, maintenance mode, or rapid charge. Select the appropriate charging mode based on your battery's condition and the manufacturer's recommendations.
- Start the Charging Process: Once the charger is connected and set to the correct mode, plug it into a power outlet. The charger will begin charging the battery, and you may see indicator lights or displays showing the charging status.
- Monitor the Charging: Keep an eye on the charger and battery during the charging process. Check for any unusual sounds, smells, or signs of overheating. If you notice anything unusual, stop the charging immediately and consult a professional.
- Complete the Charging: Once the battery is fully charged, the charger will typically indicate this through visual or audible signals. Disconnect the charger from the power outlet first, then disconnect the charger leads from the battery in the reverse order of connection (positive first, then negative).
- Reconnect the Battery: Reconnect the positive (red) battery terminal first, followed by the negative (black) terminal. Ensure the connections are secure but not overly tight to avoid damaging the battery terminals.
- Test the Battery: After charging and reconnecting the battery, start your Harley Davidson motorcycle to ensure the battery holds a charge and the electrical systems function correctly. If everything is working as expected, you're ready to hit the road!
By following these steps and practicing regular battery maintenance, you can keep your Harley Davidson motorcycle battery in top condition and enjoy smooth rides every time.

 2007-2014 Polaris RZR Led Headlights for RZR 800 570 XP 900 Ranger Sportsman Manufacturer
 Best Accessories to Enhance Your Harley Street Glide Riding Experience
 Best Aftermarket Headlights for 2006 Silverado
 How to Install an LED Headlight Assembly on KTM Duke 690


