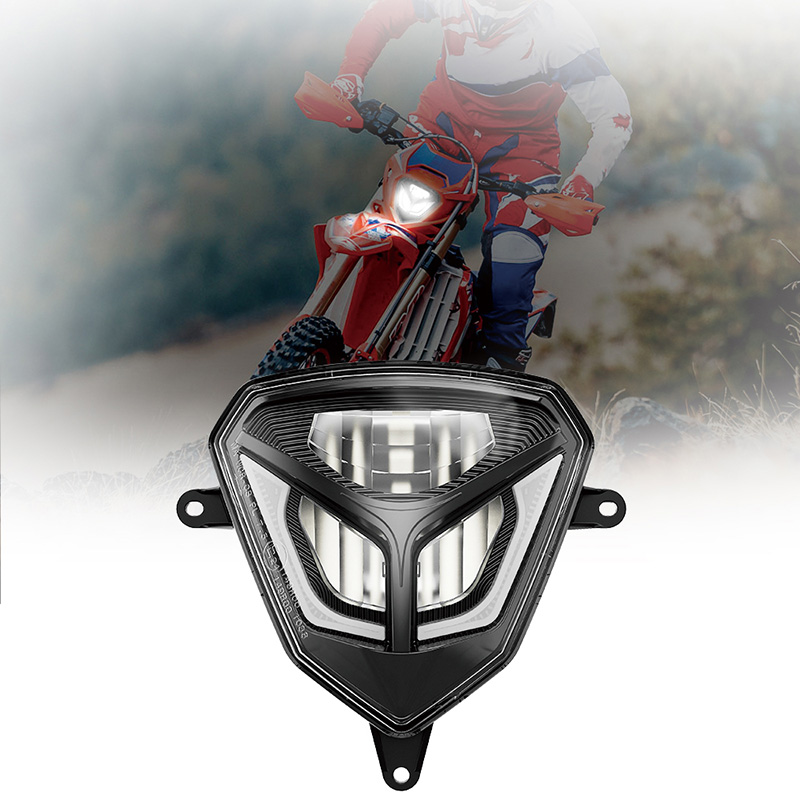
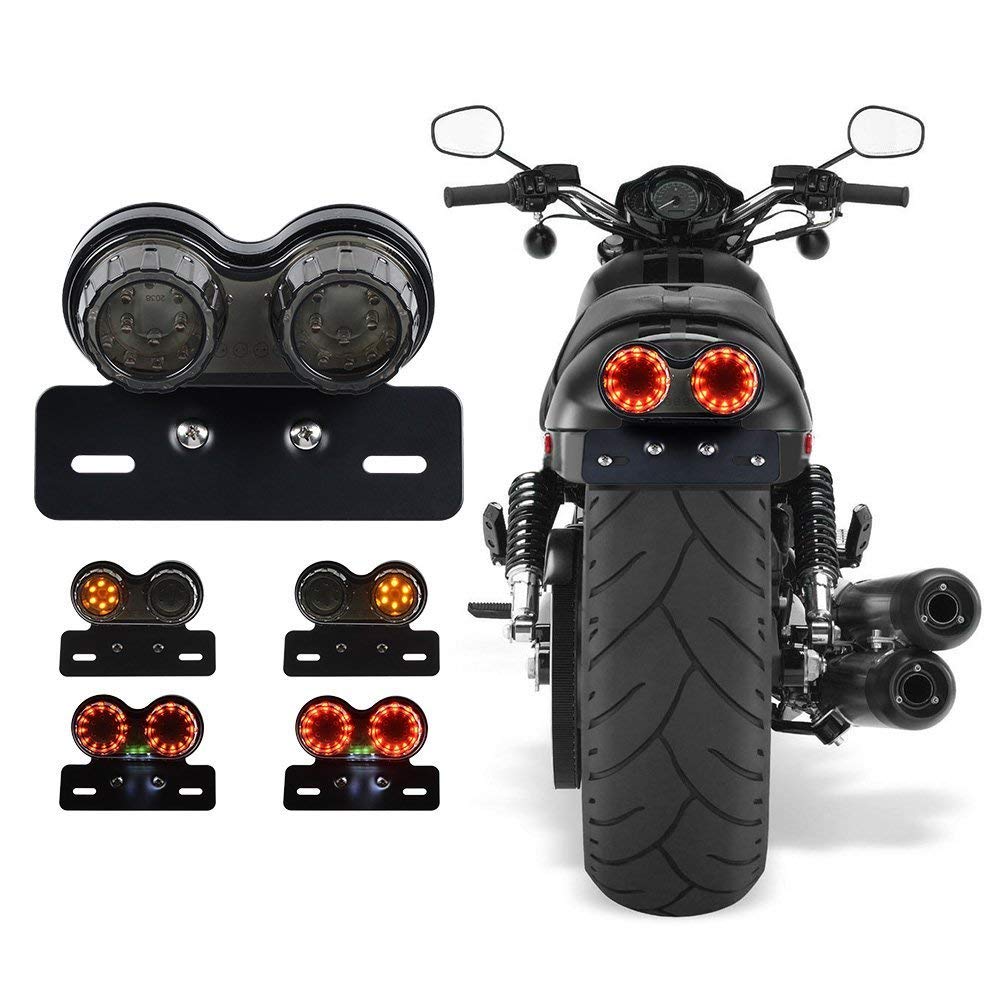
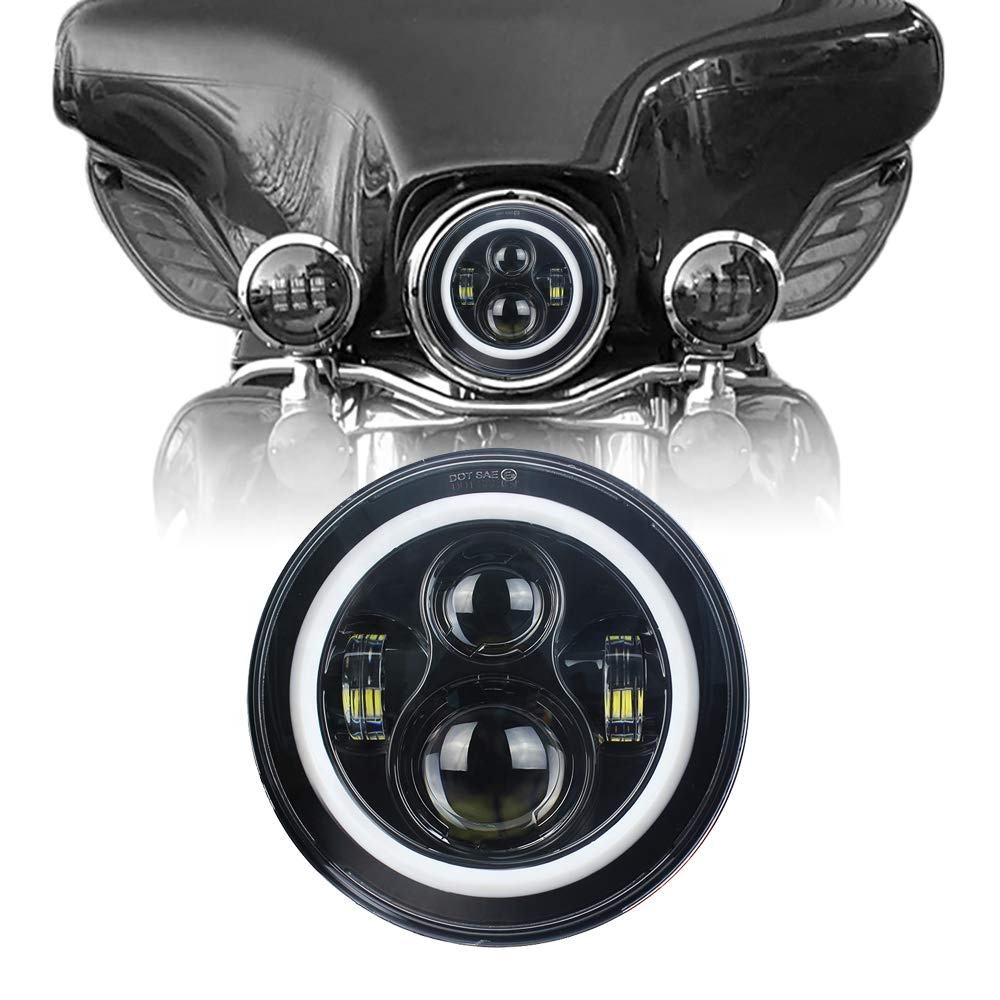
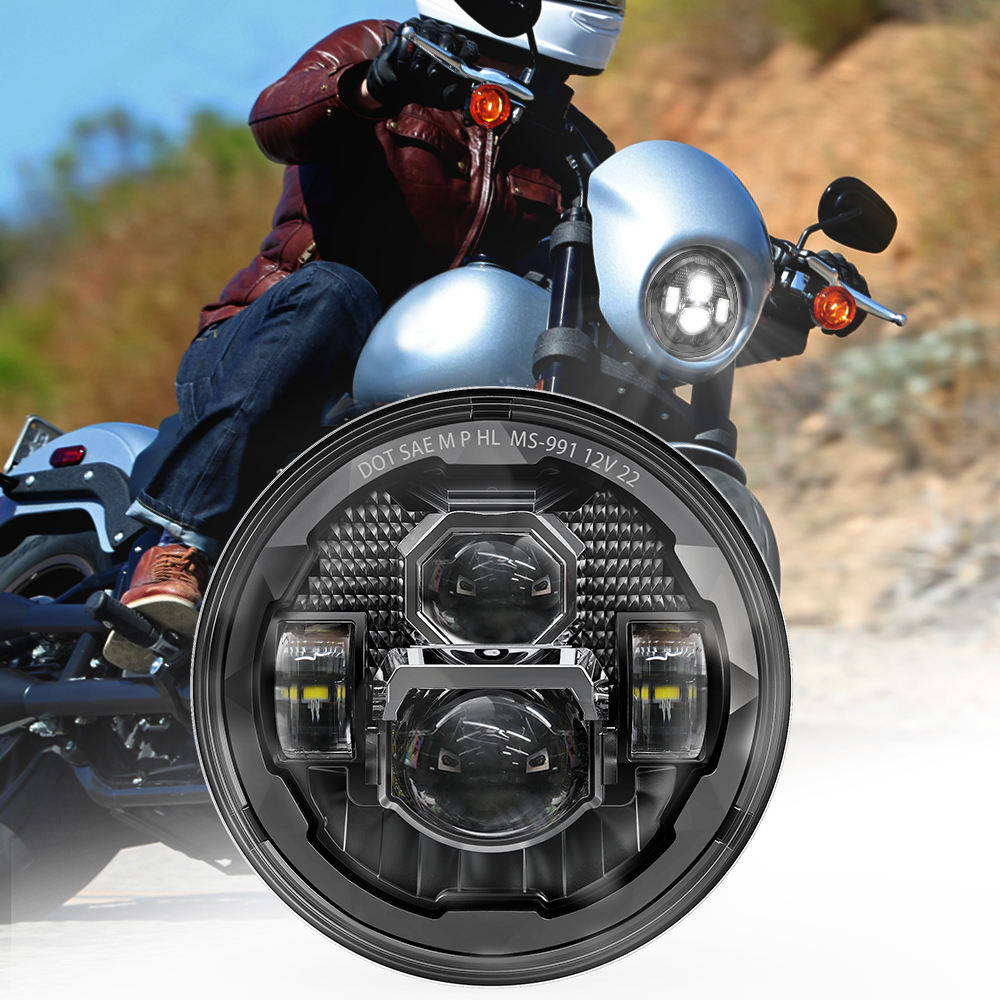
Upgrading the headlight on your Beta enduro bike can significantly improve your riding experience, especially during low-light conditions or night rides. Whether you're looking for better visibility, increased durability, or enhanced aesthetics, upgrading your headlight is a worthwhile investment. Here's a guide on how to upgrade your Beta enduro bike headlight.

1. Assess Your Needs:
Before diving into the upgrade process, assess your needs and preferences. Do you ride mostly on trails or highways? Do you need a brighter light for off-road adventures or a more focused beam for on-road visibility? Understanding your requirements will help you choose the right headlight upgrade.
2. Choose the Right Headlight:
Selecting the right headlight is crucial. Look for options that are compatible with your Beta enduro bike model. Beta LED headlights are a popular choice for their brightness, energy efficiency, and durability. Consider factors such as lumens output, beam pattern (spot or flood), and additional features like integrated turn signals or daytime running lights (DRLs).
3. Gather Tools and Materials:
Before starting the upgrade, gather the necessary tools and materials. You may need screwdrivers, pliers, wire strippers, electrical tape, and a multimeter for testing electrical connections. Ensure you have a clean workspace and follow safety precautions, such as disconnecting the battery before working on electrical components.
4. Remove the Old Headlight:
Start by disconnecting the battery to prevent any electrical mishaps. Remove the fairings or covers necessary to access the headlight assembly. Depending on your bike model, you may need to remove screws or clips to detach the old headlight. Carefully disconnect the wiring harness and remove the headlight from its mounting.
5. Install the New Headlight:
Install the new headlight by following the manufacturer's instructions. Mount the headlight securely, ensuring it's aligned properly for optimal beam direction. Connect the wiring harness, making sure all connections are secure and insulated with electrical tape to prevent short circuits.
6. Test the Headlight:
After installation, test the headlight to ensure it functions correctly. Reconnect the battery and turn on the bike's ignition. Check the low and high beam settings, as well as any additional features like DRLs or integrated turn signals. Make any adjustments if needed to align the beam correctly.
7. Secure and Reassemble:
Once you're satisfied with the headlight's performance, secure all components and reassemble any fairings or covers you removed earlier. Double-check all connections and fasteners to ensure everything is tight and properly aligned.
8. Final Checks:
Take your bike for a test ride in various lighting conditions to confirm the headlight's effectiveness. Pay attention to visibility, beam spread, and any potential issues like flickering or dimming. Make any final adjustments or tweaks as necessary.
By following these steps and choosing the right headlight upgrade for your Beta enduro bike, you can enhance your riding experience with improved visibility and safety.


